
Your new skates have arrived? Don't just put them on and go! When your new skates arrive, we recommend not simply...
Contact us +33466218691
clic-n-roll@hotmail.fr
clic-n-roll@hotmail.fr
Latest posts
-
 How to Properly Put on Your New SkatesRead more
 -
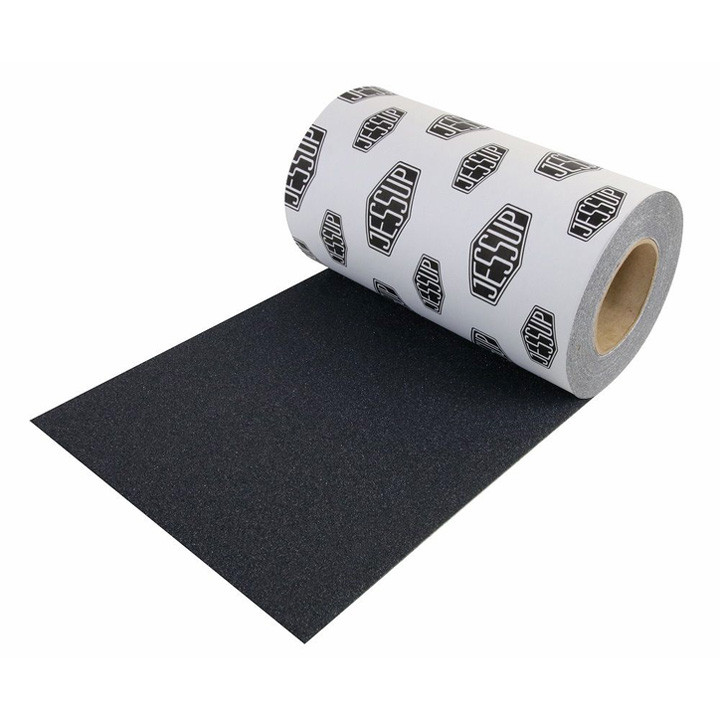 How to Apply Skateboard Grip Tape – Step-by-Step GuideRead more
Applying grip tape to a skateboard is easy, but getting a clean and professional result takes a little precision....
-
 UFS+: What You Need to KnowRead more
For more than 20 years, the UFS system has established itself as a key standard in aggressive inline skating, thanks...
-
 Surfskate Trucks Explained: How to Choose the Right OneRead more
The truck is what makes a surfskate different from a regular skateboard. Carver C7, CX and C5, YOW Meraki,...
-
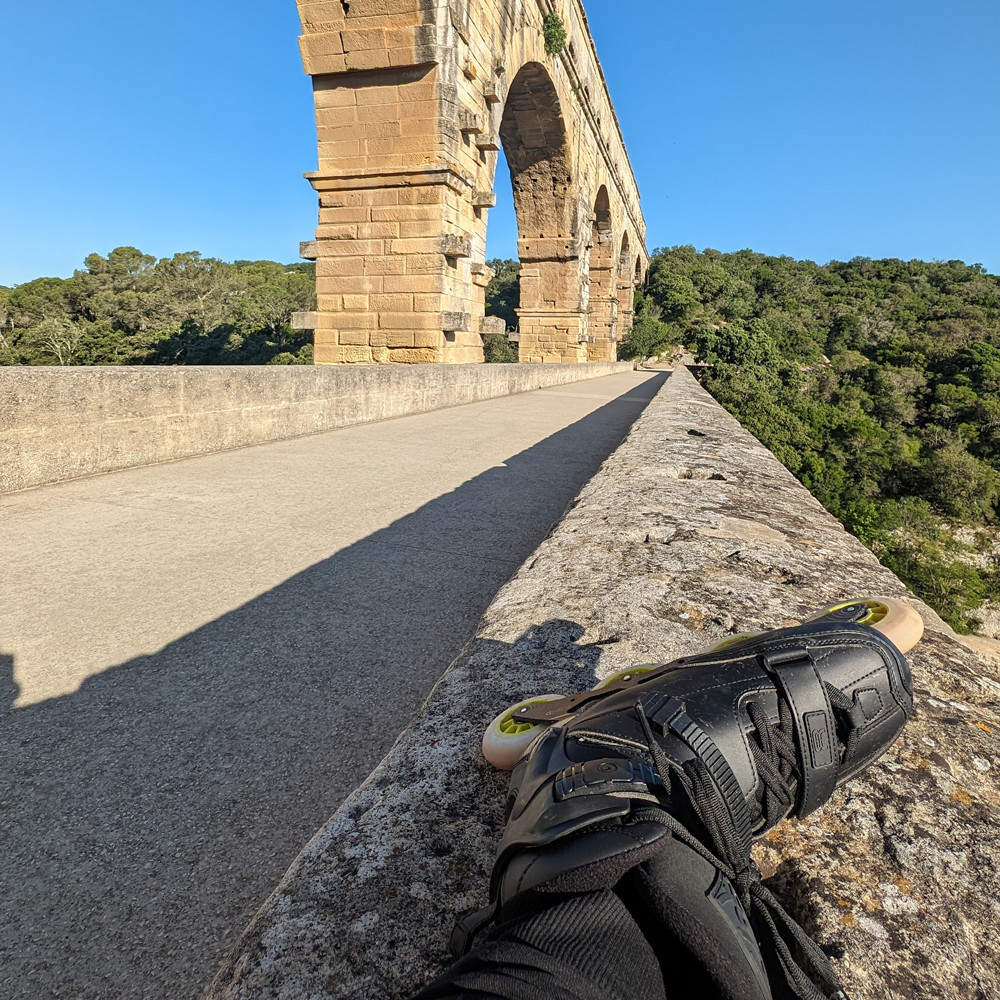 Uzès – Pont du Gard Greenway on Inline Skates: 25 km Through the GardRead more
Looking for an easy inline skating route in southern France with an incredible finish? Discover the Uzès – Pont du...
-
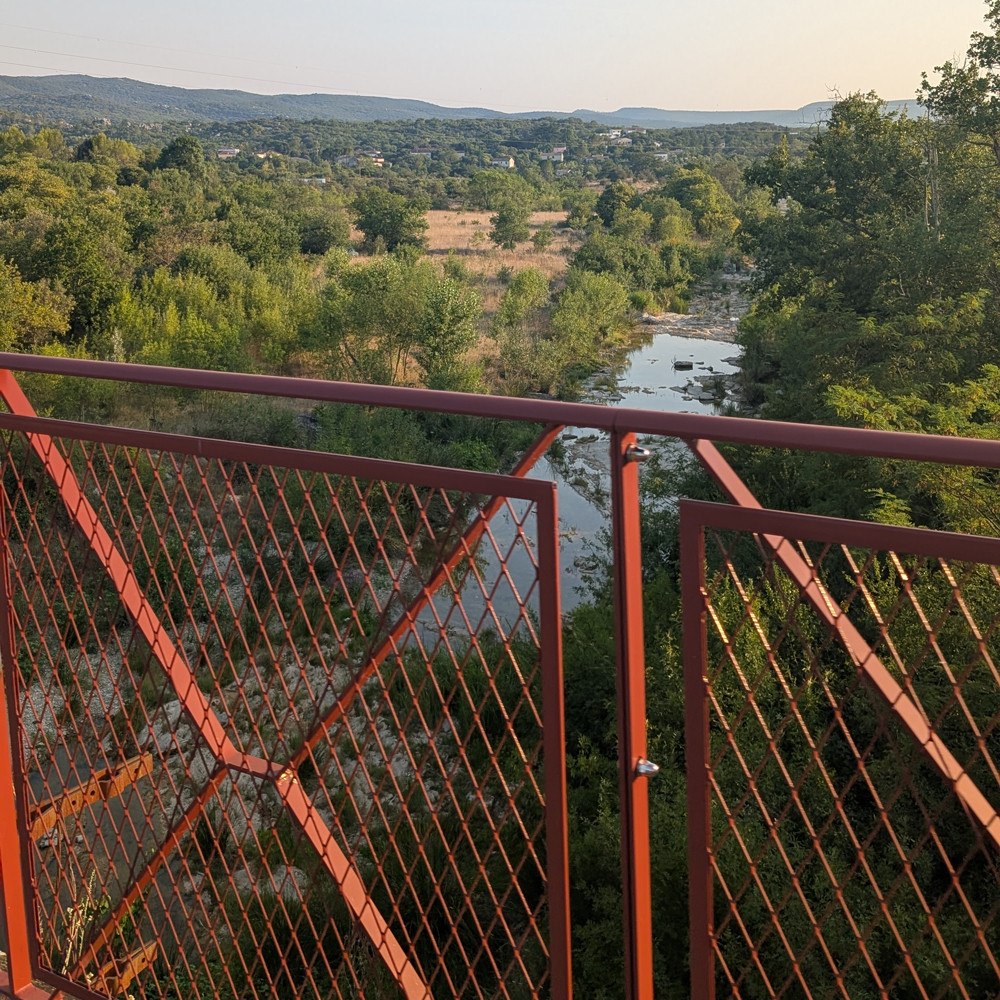 Quissac – Ganges Greenway on Inline Skates: 55 km Through the CévennesRead more
Looking for a great inline skating adventure in the south of France? Discover the Quissac to Ganges Greenway, built...
-
 Roller Greenway - Vauvert to the Carbonnière Tower (30)Read more
This rollerblading greenway runs between Vauvert and Aigues-Mortes, more precisely to the Carbonnière Tower in...
-
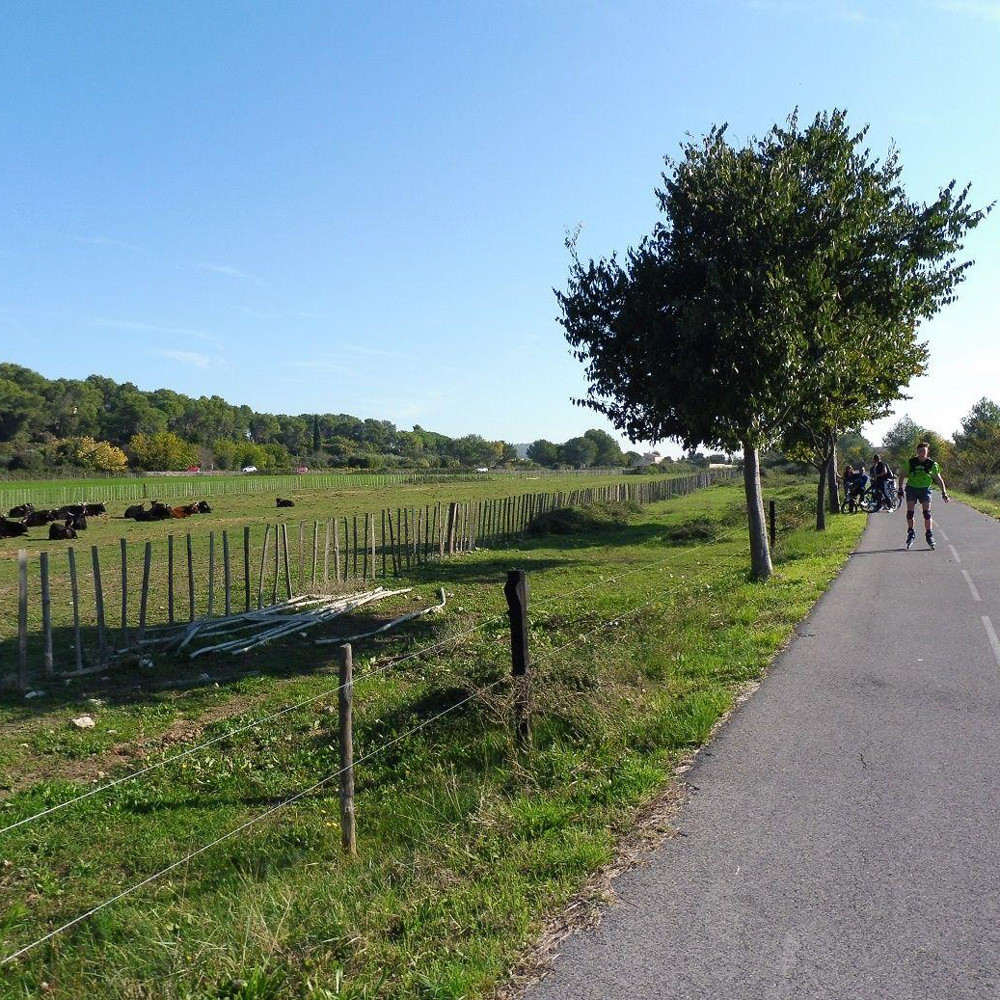 Roller Greenway - La Vaunage (30)Read more
The Vaunage Greenway is well known in the Gard department (30). Ideal for roller skating, this greenway is one of the...
-
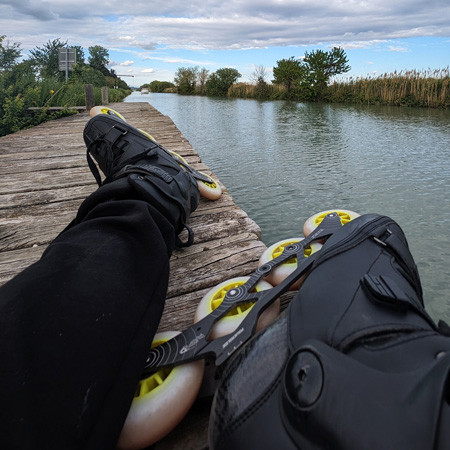 Bellegarde to Beaucaire Roller Trail – Gard (30)Read more
Discover the roller skating greenway between Bellegarde and Beaucaire, a section of the ViaRhôna running alongside...
-
 Beaucaire to Uzès Roller Trail – Via the Pont du Gard (30)Read more
Discover the greenway between Beaucaire and Uzès, a beautiful roller skating route through the Gard region of...
Blog categories
Search in blog
Archived posts
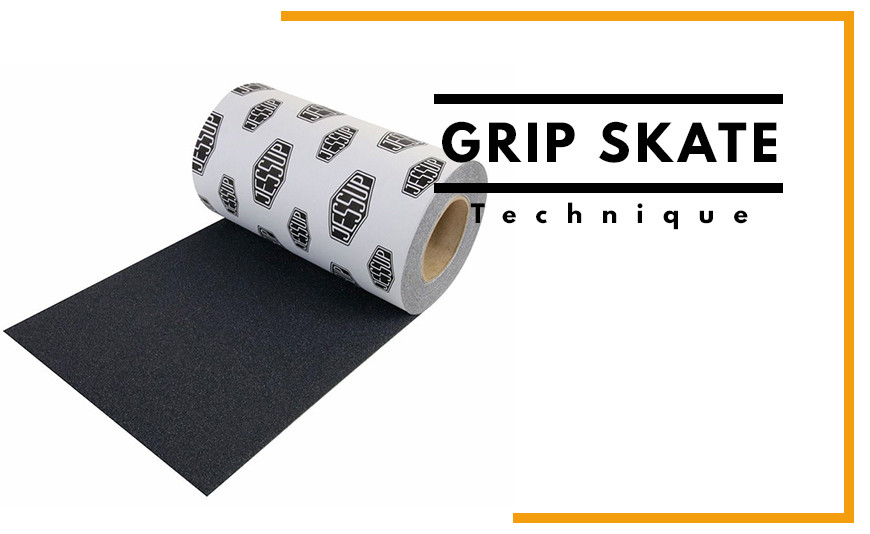
How to Apply Skateboard Grip Tape – Step-by-Step Guide
How to apply grip tape to a skateboard
When you get a brand-new skateboard deck, one of the first things you need to do before riding is apply the grip tape.
It sounds simple: stick a large adhesive sheet to the top of the deck and cut away the excess.
And it is!
But getting a clean result without bubbles, wrinkles or rough edges requires a few simple techniques.
The good news is that anyone can learn how to grip a skateboard with the right tools and a little patience.
Let's get started!
What you need
Before you begin, get the following:
- A skateboard deck
- A sheet of grip tape
- A sharp utility knife or razor blade
- A file, screwdriver or metal skate tool
- A small screwdriver or Allen key for the mounting holes
- A clean cloth
The most important thing is to use a sharp blade. It will make cutting the grip much easier and cleaner.
1. Prepare the deck
Place your skateboard deck on a clean, flat surface.
If the deck is new, remove any packaging, stickers or protective material from the top.
The surface should be clean, dry and free from dust or debris.
If you are replacing old grip tape, remove the old grip completely before starting.
2. Position the grip tape
Peel the protective backing off the grip tape to expose the adhesive.
But don't stick the whole sheet down straight away!
Hold the grip tape above the deck and take your time to center it properly.
The grip should extend slightly beyond all edges of the deck.
If your grip tape has a graphic or a specific direction, make sure it is correctly oriented toward the nose and tail.
Once everything is aligned, slowly lower the grip onto the deck.
3. Apply the grip without bubbles
This is probably the step where you need the most patience.
Start by pressing the middle of the deck, then gradually work toward the nose and tail.
The goal is to push the air toward the edges rather than trapping it underneath the grip.
Use the palm of your hand and work slowly across the board.
Pro tip
Keep the backing paper you removed from the grip.
Place it over the top of the freshly applied grip and run your hand firmly across it.
This lets you apply more pressure without having the rough grip surface dig into your hand.
4. Score the outline of the deck
Once the grip is completely applied, it will extend beyond the edges of the board.
Now take your metal file, screwdriver or skate tool and firmly rub it around the entire edge of the deck.
This creates a visible line in the grip and gives you a precise outline of the skateboard deck.
Take your time around the nose and tail, where the shape is usually more curved.
5. Cut the grip tape
This is the most technical part of the job.
Use your razor blade or utility knife to make a small starting cut in the excess grip tape.
Then carefully follow the outline you created around the entire deck.
Keeping the blade slightly angled can make it easier to follow the shape of the board.
Don't rush this step. A slow and controlled cut will give you a much cleaner result.
⚠️ Be careful with the blade! Utility knives and razor blades are extremely sharp. Keep your fingers away from the cutting path and never force the blade.
6. Finish the edges
Once all the excess grip has been removed, you may have a few rough spots along the edges.
That's easy to fix.
Take a small piece of the leftover grip tape and use it like sandpaper.
Rub it around the entire edge of the deck to smooth the grip tape and make sure the edges are firmly attached.
This small finishing step makes a big difference to the final result.
7. Punch the mounting holes
The final step is to open the eight mounting holes for your trucks.
Turn the deck over and locate the truck mounting holes.
Use a small screwdriver, Allen key or suitable tool to carefully punch through the grip at each hole.
Once all eight holes are open, you can install your mounting hardware and trucks.
Common mistakes to avoid
❌ Applying the grip too quickly
If you stick the whole sheet down without checking the alignment, you may end up with crooked grip tape.
❌ Trapping air bubbles
Don't simply press the grip straight down. Work from the center toward the edges to push the air out.
❌ Using a dull blade
A dull blade makes the job harder and can result in a rough, uneven cut.
❌ Cutting without marking the outline
Scoring the deck's outline with a file or metal tool makes cutting much easier.
❌ Skipping the finishing step
Even if the grip is already installed correctly, rubbing the edges with a piece of leftover grip tape gives you a much cleaner finish.
Your skateboard is ready!
Applying grip tape isn't difficult. The secret is simply to take your time.
Get the positioning right, apply the grip gradually, remove air bubbles, make a clean cut and finish the edges.
And don't worry if your first attempt isn't perfect. Just like skating itself, you get better with practice!
Once your grip is installed, all that's left is to install your trucks, wheels and bearings...
And go skate! ?
Posted in:
Skateboard
Related posts
-
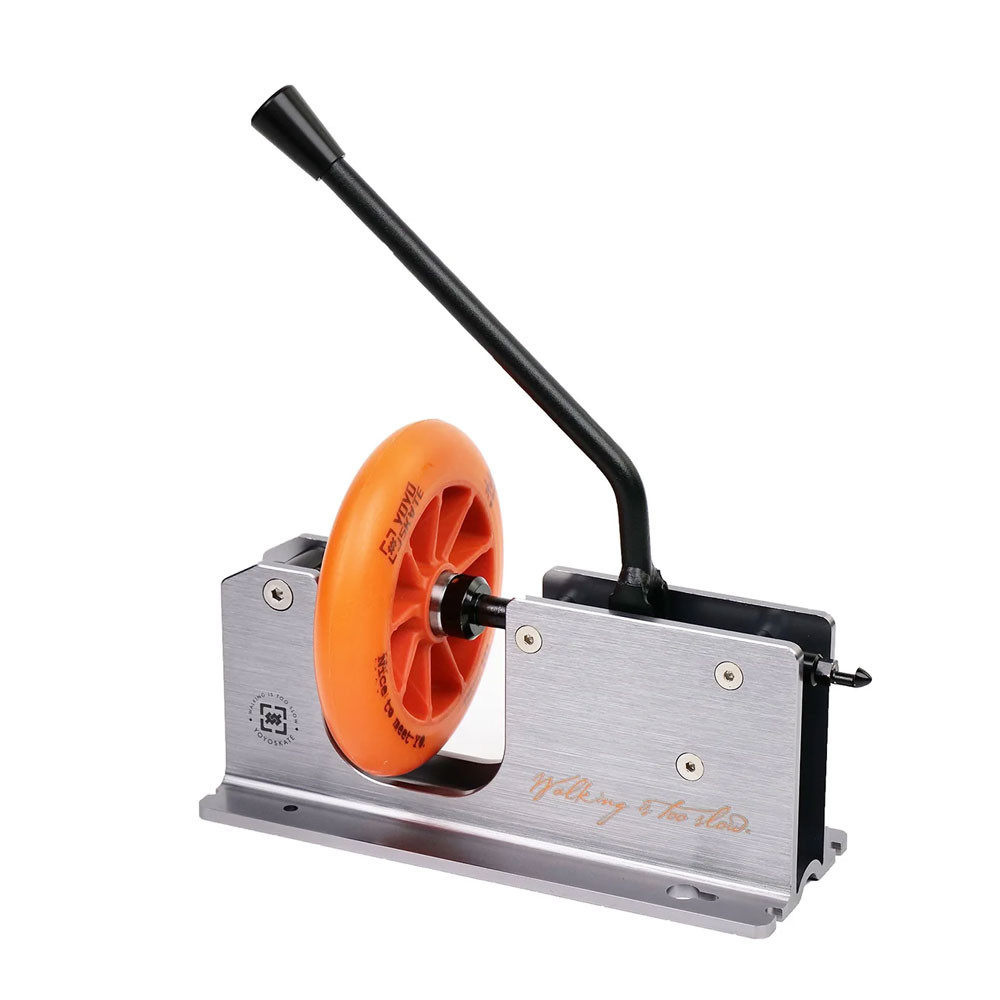 YOYO SKATES Bearing Press: Review and How to Use It
The YOYO SKATES bearing press is a practical and durable tool for installing and removing bearings from inline skate,...Read more
YOYO SKATES Bearing Press: Review and How to Use It
The YOYO SKATES bearing press is a practical and durable tool for installing and removing bearings from inline skate,...Read more -
Surfskate Trucks Explained: How to Choose the Right One
The truck is what makes a surfskate different from a regular skateboard. Carver C7, CX and C5, YOW Meraki,...Read more
Leave a comment