
Your new skates have arrived? Don't just put them on and go! When your new skates arrive, we recommend not simply...
Contact us +33466218691
clic-n-roll@hotmail.fr
clic-n-roll@hotmail.fr
Latest posts
-
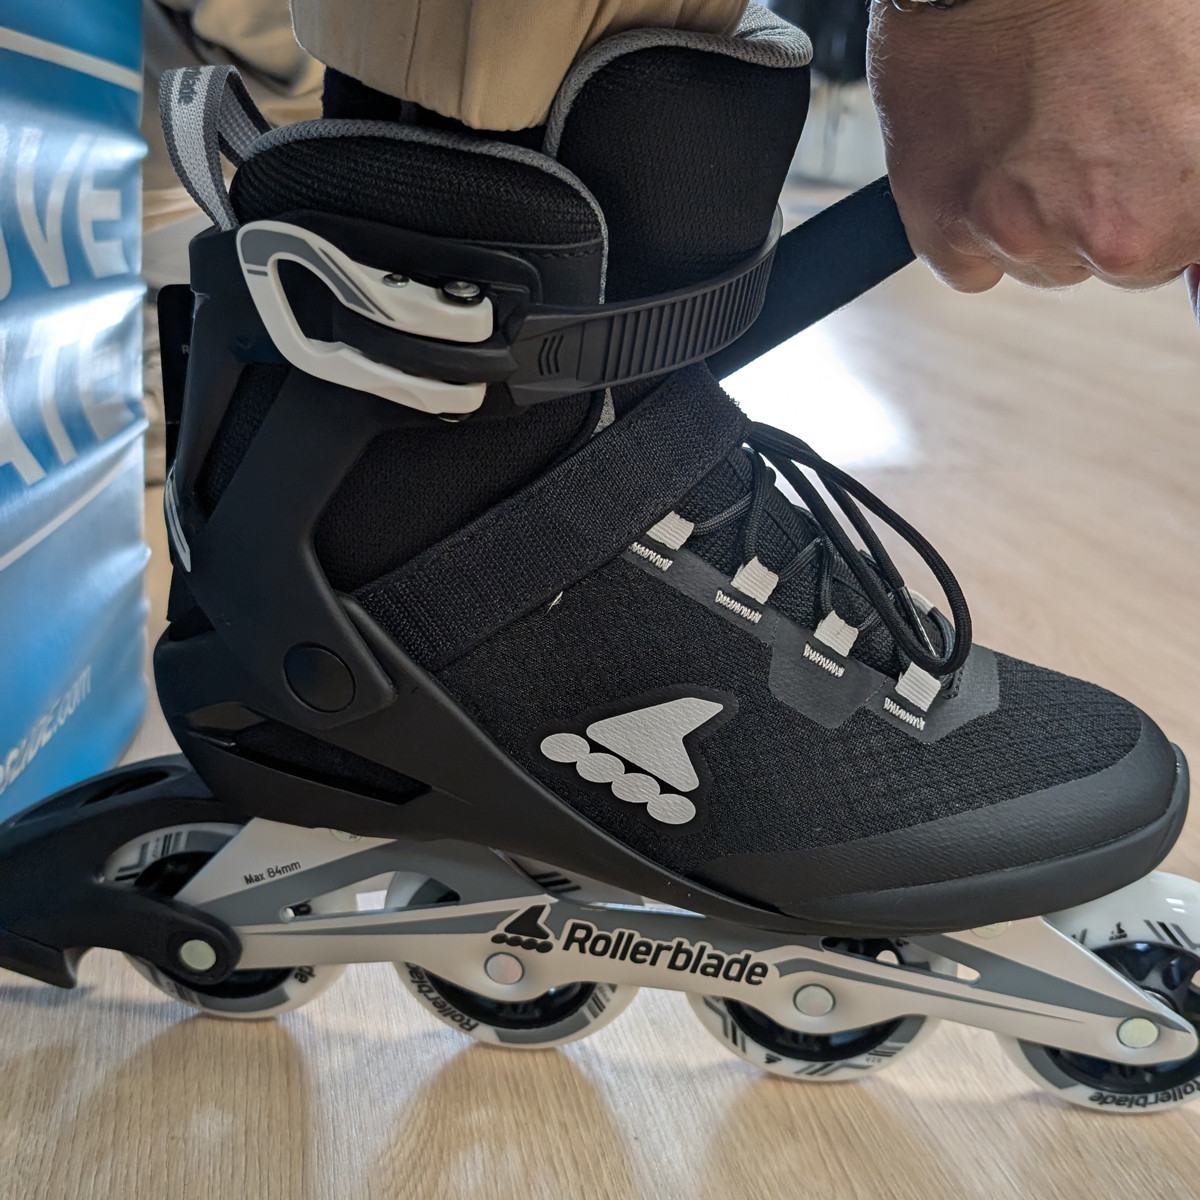 How to Properly Put on Your New SkatesRead more
 -
 How to Apply Skateboard Grip Tape – Step-by-Step GuideRead more
Applying grip tape to a skateboard is easy, but getting a clean and professional result takes a little precision....
-
 UFS+: What You Need to KnowRead more
For more than 20 years, the UFS system has established itself as a key standard in aggressive inline skating, thanks...
-
 Surfskate Trucks Explained: How to Choose the Right OneRead more
The truck is what makes a surfskate different from a regular skateboard. Carver C7, CX and C5, YOW Meraki,...
-
 Uzès – Pont du Gard Greenway on Inline Skates: 25 km Through the GardRead more
Looking for an easy inline skating route in southern France with an incredible finish? Discover the Uzès – Pont du...
-
 Quissac – Ganges Greenway on Inline Skates: 55 km Through the CévennesRead more
Looking for a great inline skating adventure in the south of France? Discover the Quissac to Ganges Greenway, built...
-
 Roller Greenway - Vauvert to the Carbonnière Tower (30)Read more
This rollerblading greenway runs between Vauvert and Aigues-Mortes, more precisely to the Carbonnière Tower in...
-
 Roller Greenway - La Vaunage (30)Read more
The Vaunage Greenway is well known in the Gard department (30). Ideal for roller skating, this greenway is one of the...
-
 Bellegarde to Beaucaire Roller Trail – Gard (30)Read more
Discover the roller skating greenway between Bellegarde and Beaucaire, a section of the ViaRhôna running alongside...
-
 Beaucaire to Uzès Roller Trail – Via the Pont du Gard (30)Read more
Discover the greenway between Beaucaire and Uzès, a beautiful roller skating route through the Gard region of...
Blog categories
Search in blog
Archived posts
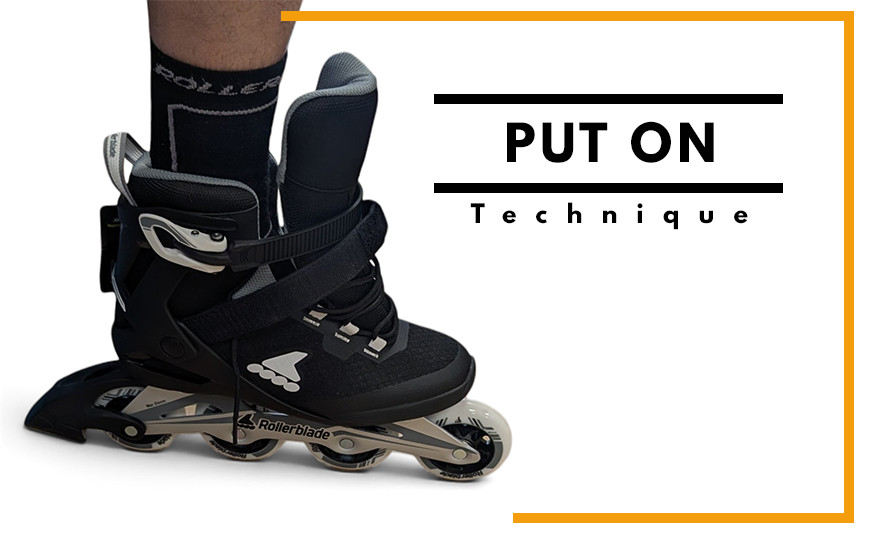
How to Properly Put on Your New Skates
1. Wear the right socks
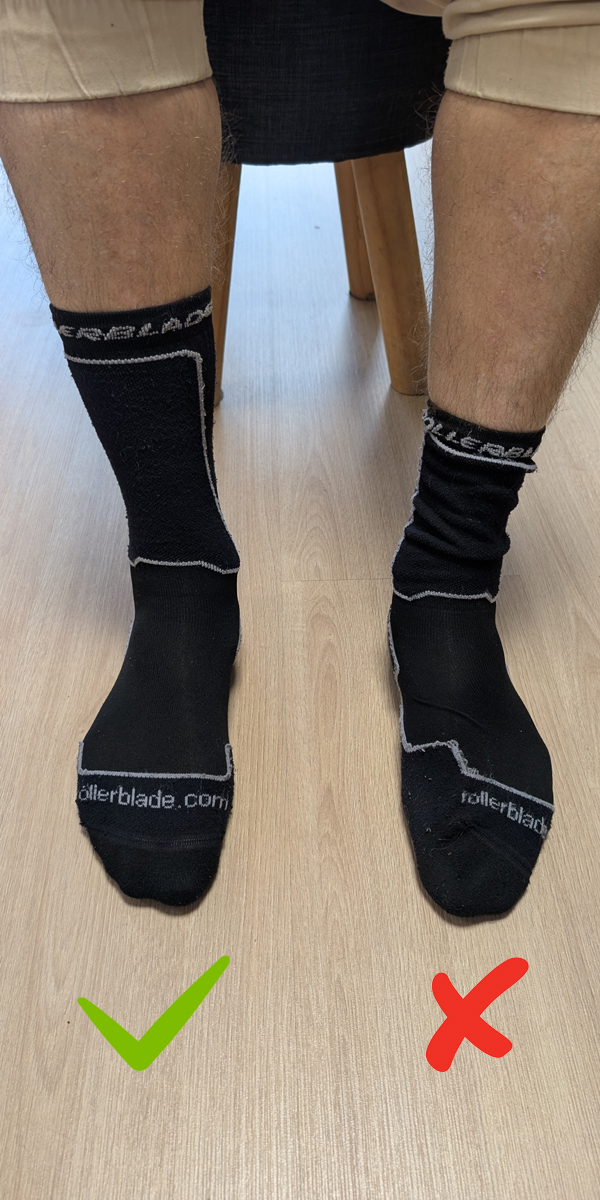
Start with crew-length or taller socks. Your socks should come higher than the top of the skate cuff.
Also make sure your sock is properly positioned and completely wrinkle-free. Even a small fold can become very uncomfortable after several miles of skating.
This isn't skiing! Forget about thick socks. Regular athletic socks are enough, or even better, wear skate-specific socks.
Skate socks are thin enough to let your feet breathe, while providing extra cushioning in key contact areas such as the toes, heel, shins and calves.
2. Always loosen your skates completely
Before putting your skate on, fully open the closure system.
For lace-up skates, loosen the laces enough to open the tongue wide.
For skates equipped with buckles, Velcro straps or quick-lacing systems, open those completely as well.
The goal is simple: create enough room for your foot to slide in naturally, without forcing it.
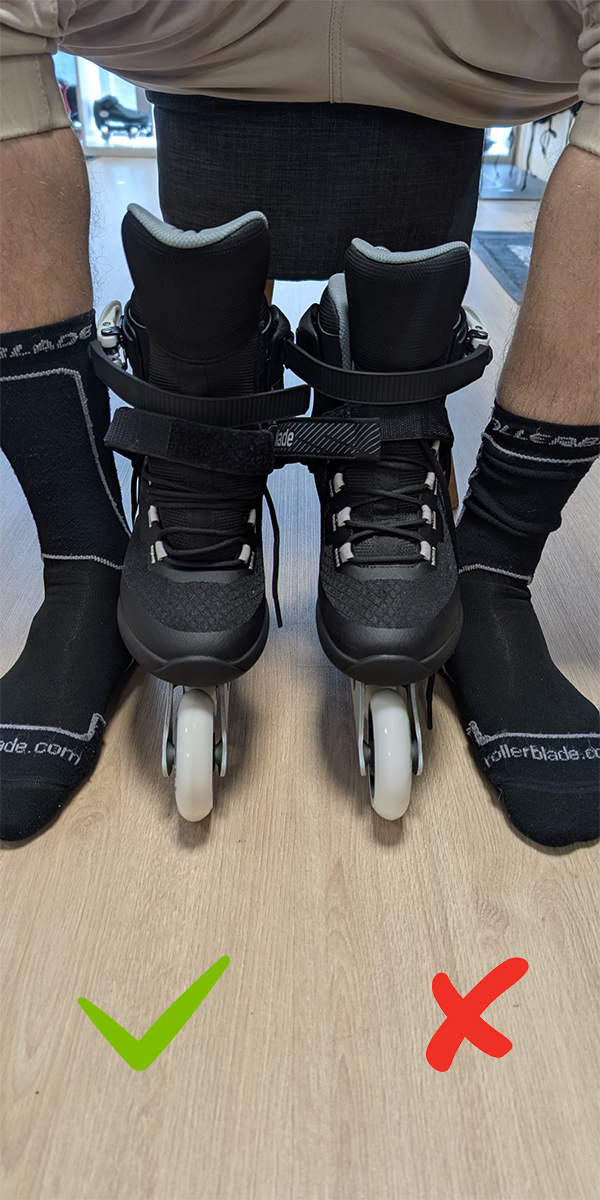
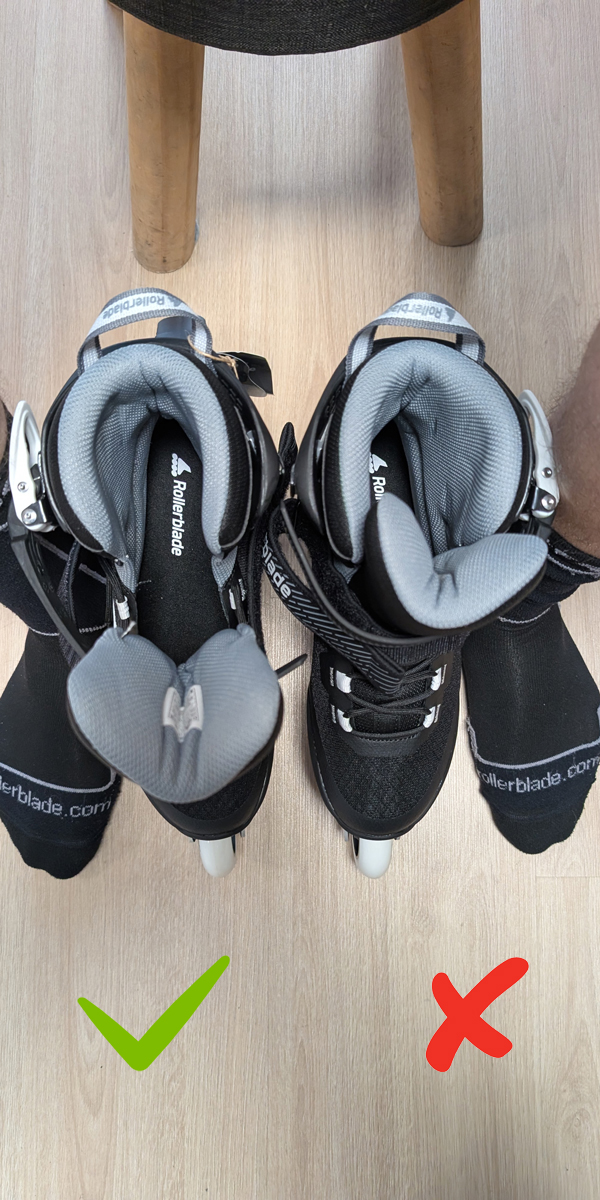
3. Put your foot in toes first
Get comfortable, preferably sitting down.
Slide your foot into the skate, starting with your toes, then gradually lower your foot into the liner or boot.
The tongue should be properly positioned and centered over the top of your foot.
4. Make sure your heel is fully seated
This is probably the most important step.
Once your foot is inside the skate, your heel needs to move as far back into its proper position as possible.
Your foot naturally tends to slide forward toward the toes when putting on a skate, potentially leaving your heel too far forward.
You can slightly raise your leg and gently tap your heel backward to make sure it is fully seated in the back of the liner or boot.
The goal is to prevent your foot from remaining too far forward inside the skate.
Why is this important?
Because a heel that moves or lifts while skating can reduce precision and control. On the other hand, a properly seated heel makes the skate feel much more natural and responsive under your feet.
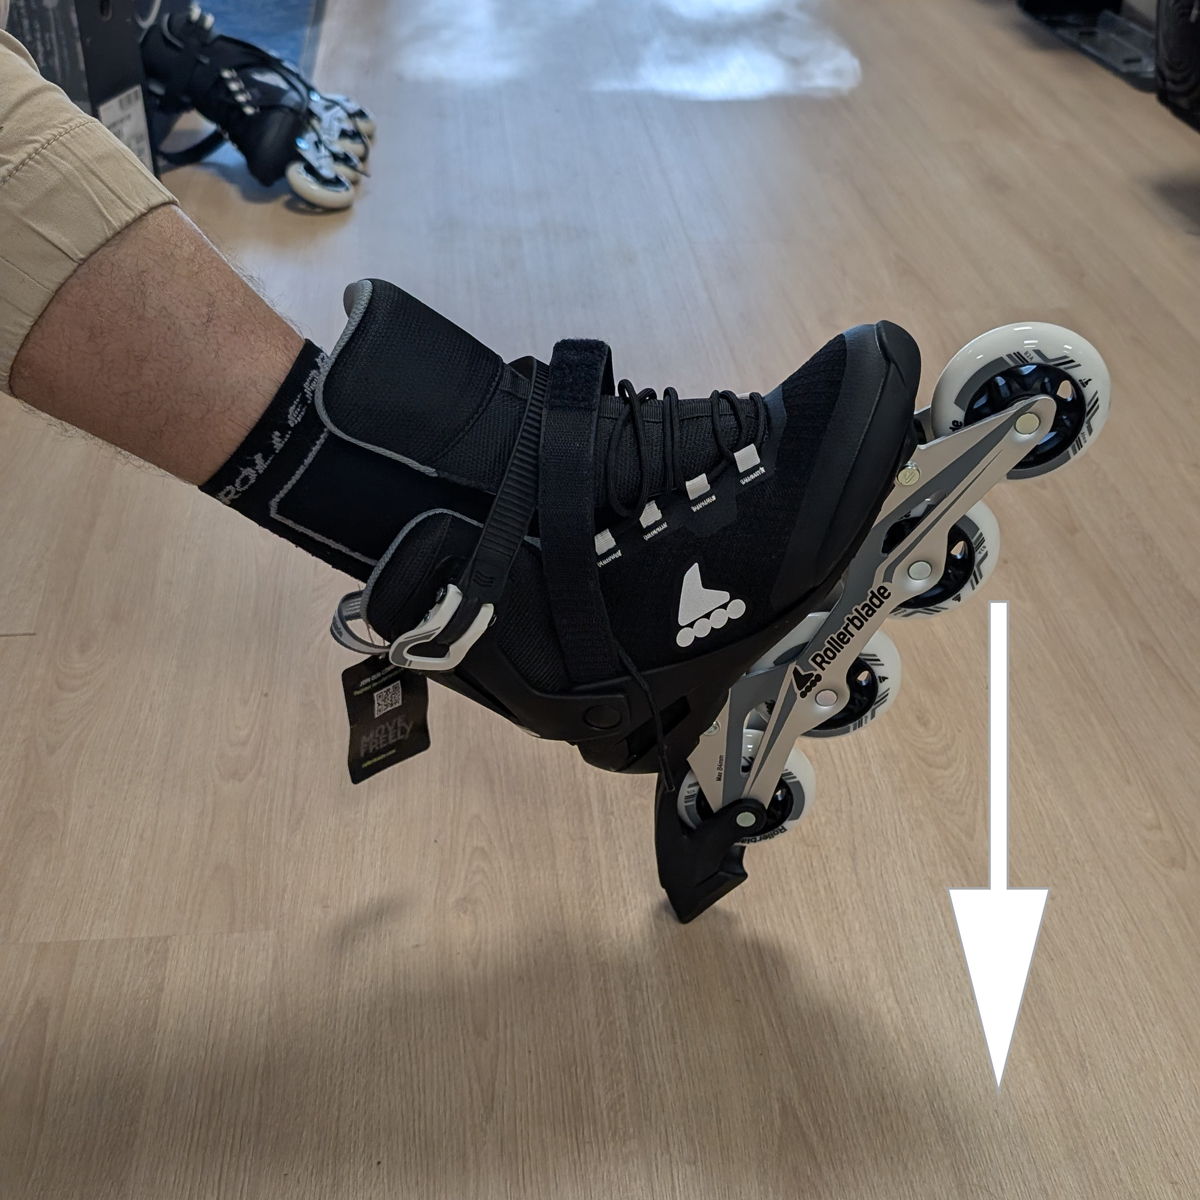
5. Check your toe position
Once your heel is properly seated, your toes should naturally find their position.
They should not be crushed or curled up.
Depending on the type of skate and the construction of the liner or boot, it is normal for your toes to be close to the front, especially with a brand-new pair.
However, significant pain or excessive pressure is not normal.
A skate should fit snugly around your foot, but it should not hurt.
This is an important difference compared with an everyday shoe: you want a precise, consistent fit rather than lots of extra room simply for comfort.
Remember, you're wearing sports equipment, so precision and control are important.
6. Always tighten from the bottom up
A very common mistake is to pull hard on the top of the laces first.
Instead, tighten your skates gradually from the bottom up.
Start around the forefoot, then progressively work your way up toward the instep and ankle.
The idea is to gradually eliminate unnecessary space between your foot and the liner while maintaining even pressure.
Attention: tight doesn't mean compressed!
Your skate should hold your foot firmly, while still allowing normal blood circulation.
If you experience:
- Tingling
- Numb toes
- Localized pain
- Excessive pressure across the top of your foot
Loosen the skate slightly and reposition your foot.
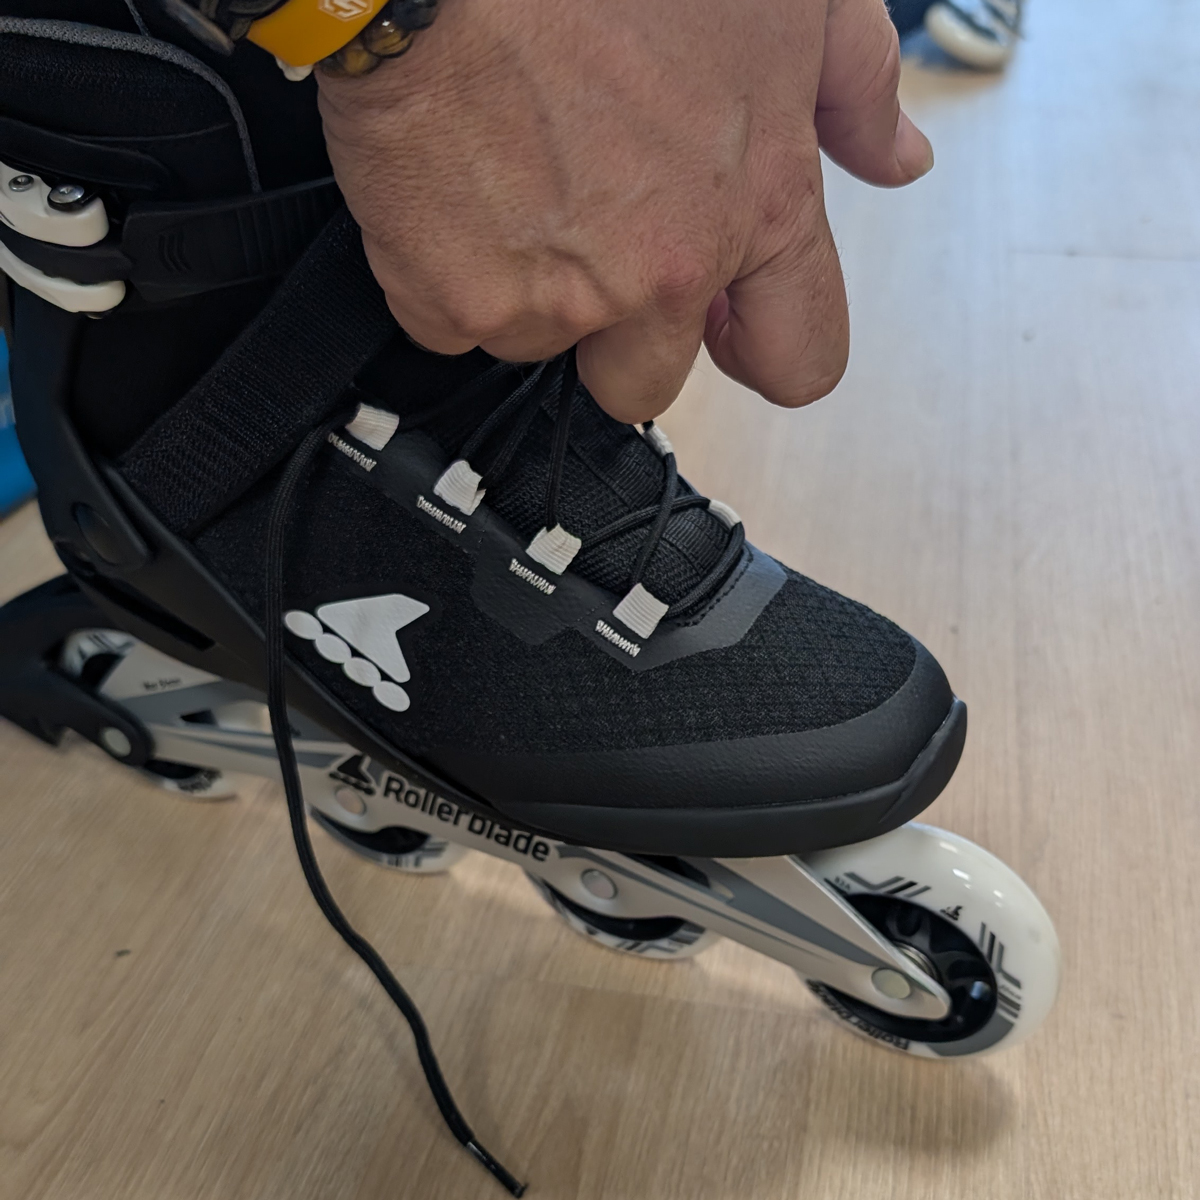
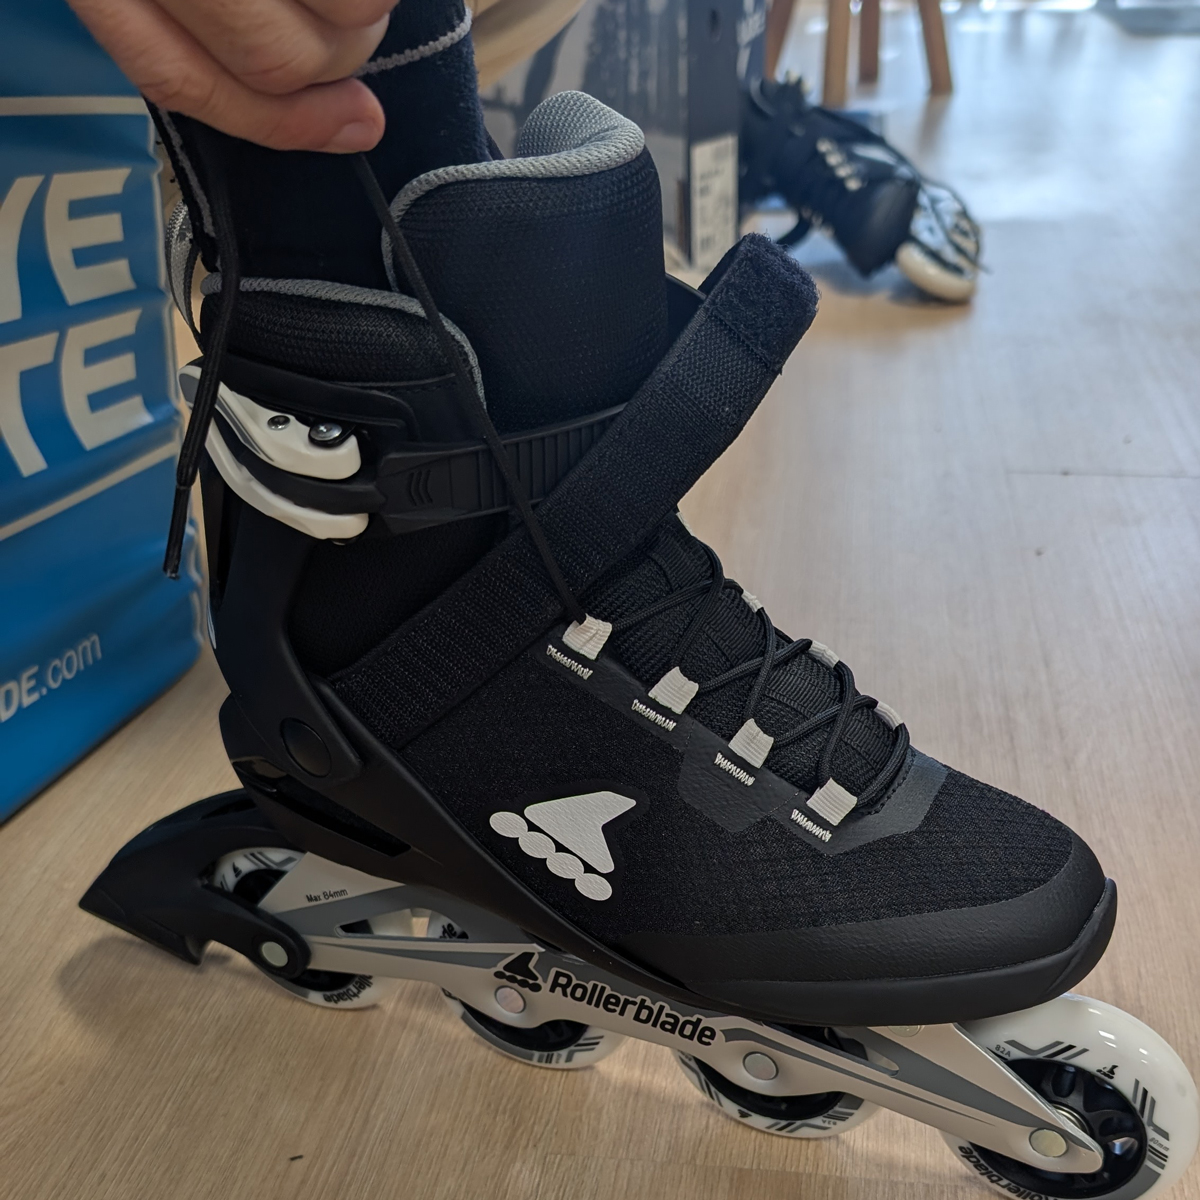
7. Proper ankle support is essential
Once you reach the ankle area, you can generally tighten a little more firmly to lock your heel in place.
This is particularly important when skating. When you lean into a turn or push off, your foot needs to remain securely connected to the skate.
But don't turn your skate into a vice!
On some models, particularly skates with a rigid shell, it is also important to maintain enough freedom of movement to allow your foot and ankle to work naturally.
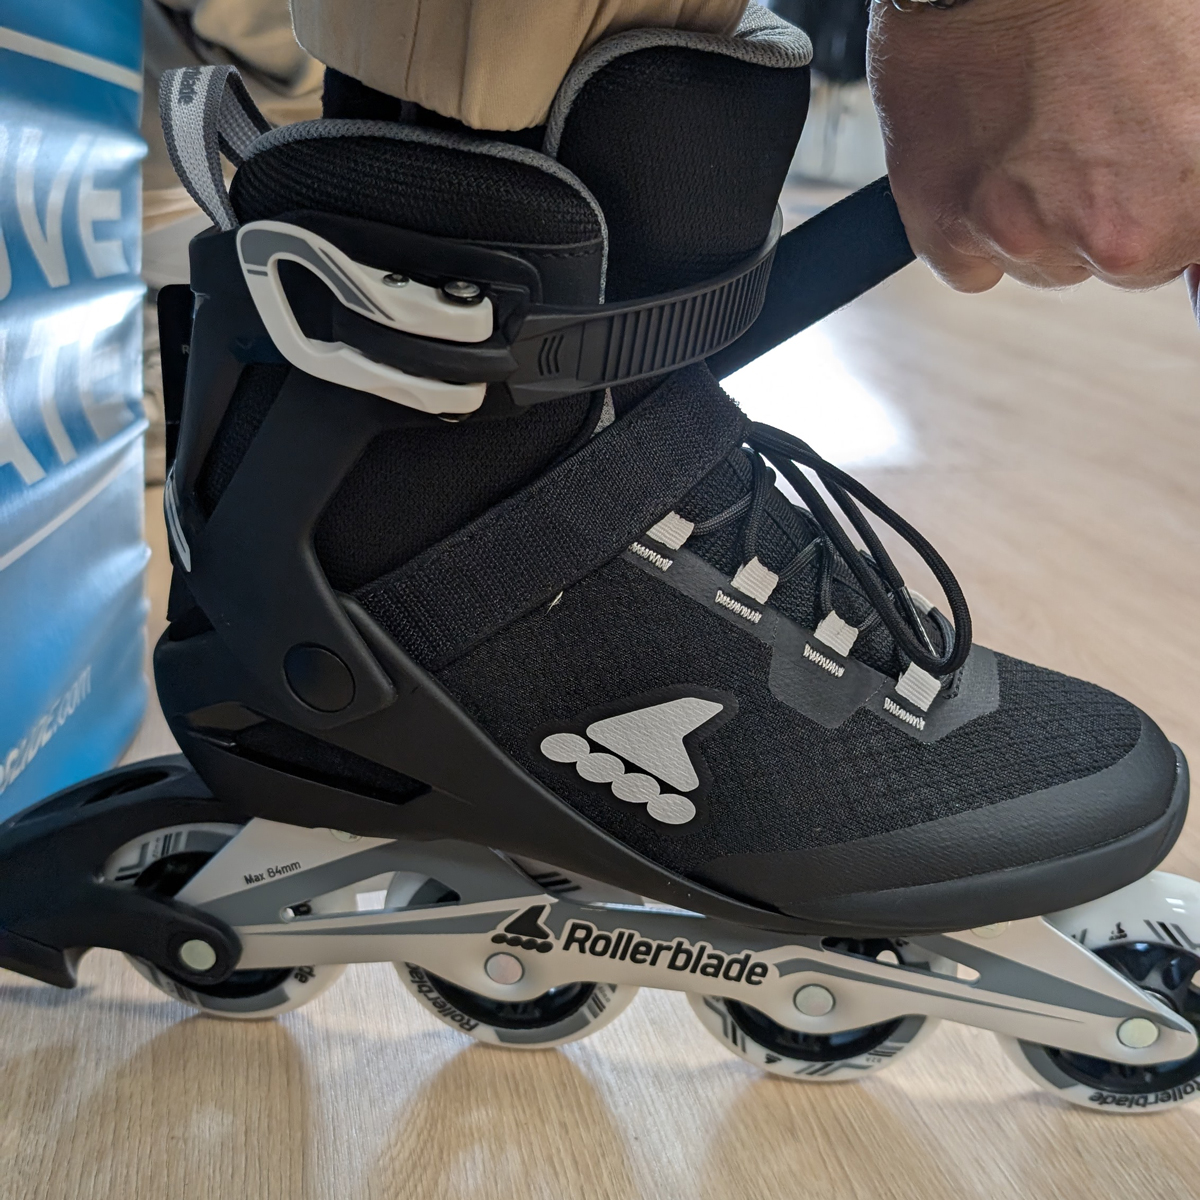
8. If your skates have a buckle or strap
After tightening the laces, use the other closure systems.
With a micro-adjustable buckle, tighten until you have a firm hold without completely restricting circulation.
With a strap or Velcro closure, it should secure the foot and/or instep without creating pressure points.
And above all, don't automatically tighten every closure as much as possible.
Each system has its own purpose: securing the foot, locking the heel in place and giving you control over the skate.
9. Stand up and do a final check
Once both skates are on, stand up.
Why both skates?
We all have one foot that is a little stronger or more stable than the other, and the height of the wheels can throw you off balance if you only put one skate on.
Your body weight will slightly change the position of your foot inside the liner.
This is the time to check:
✔ Your heel stays firmly in place: it should lift only slightly when you put pressure on the front wheels.
✔ Your foot does not slide forward and backward.
✔ Your toes can move slightly: they should be able to wiggle and curl, but don't expect them to spread apart like a fan.
✔ Your ankle is properly supported.
✔ There are no areas causing pain or excessive pressure.
If something doesn't feel right, sit back down and adjust the fit.
Don't tell yourself: "It'll be fine once I start skating."
A small discomfort at home can quickly turn into serious pain after 30 minutes of skating!
What about brand-new skates?
With a new pair of skates, it's completely normal for the initial sensations to be different from what you're used to.
The liner, boot or padding will gradually mold to your foot, depending on the model.
That's why it's a good idea to keep your first few sessions relatively short. This allows you to gradually discover how the skates feel and identify any potential pressure points.
Don't judge the comfort of a new skate only by standing around for a few minutes. Your foot position and sensations can change once you actually start skating.
Mistakes to avoid
❌ Putting your skates on without loosening them
You may position your foot incorrectly and unnecessarily put stress on the liner or boot.
❌ Only tightening the top
Your skate may feel tight, while your foot can still move around inside.
❌ Tightening every closure as much as possible
Tighter does not necessarily mean better support.
❌ Letting your heel lift
A moving heel generally means your foot is not properly locked into the skate.
❌ Ignoring pain
Significant discomfort, tingling or numbness are signs that you need to adjust the fit.
The CLIC-N-ROLL routine
To sum it up, before heading out with your new skates:
1. Put on the right socks
2. Fully loosen the skates
3. Put your feet in
4. Properly seat your heels
5. Check the tongue
6. Tighten gradually from the bottom up
7. Secure the ankle properly
8. Adjust the buckles or straps
9. Stand up and check the fit
10. Make a few movements before heading out
And most importantly, take a few minutes to properly adjust your skates.
A good fit means less discomfort, more precision and, above all, more fun on wheels!
Posted in:
Inline Skates
Related posts
-
 Which Wheel Axle Fits Your FR Skates Frame?
Not sure which wheel axle fits your FR Skates plate? With several axle references available, finding the right one...Read more
Which Wheel Axle Fits Your FR Skates Frame?
Not sure which wheel axle fits your FR Skates plate? With several axle references available, finding the right one...Read more -
 Rollerblade Blank TB64 Review: Speed, Maneuverability & 4x64mm Setup
Looking for a flat setup that combines speed, maneuverability and street performance? We put the Rollerblade Blank...Read more
Rollerblade Blank TB64 Review: Speed, Maneuverability & 4x64mm Setup
Looking for a flat setup that combines speed, maneuverability and street performance? We put the Rollerblade Blank...Read more -
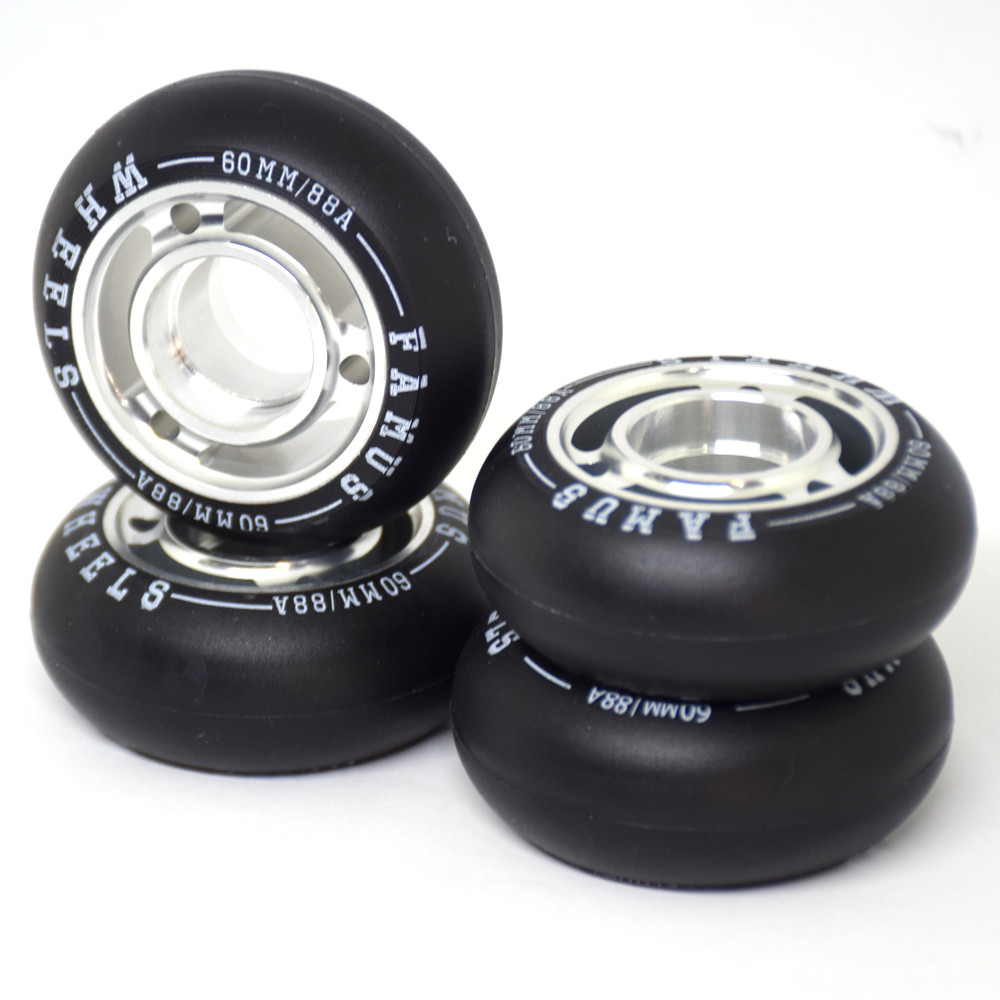 How to Install and Remove Bearings from FAMUS Furious Wheels
Need to install or remove inline skate bearings from FAMUS Furious wheels? In this tutorial, Bolton from Clic-N-Roll...Read more
How to Install and Remove Bearings from FAMUS Furious Wheels
Need to install or remove inline skate bearings from FAMUS Furious wheels? In this tutorial, Bolton from Clic-N-Roll...Read more -
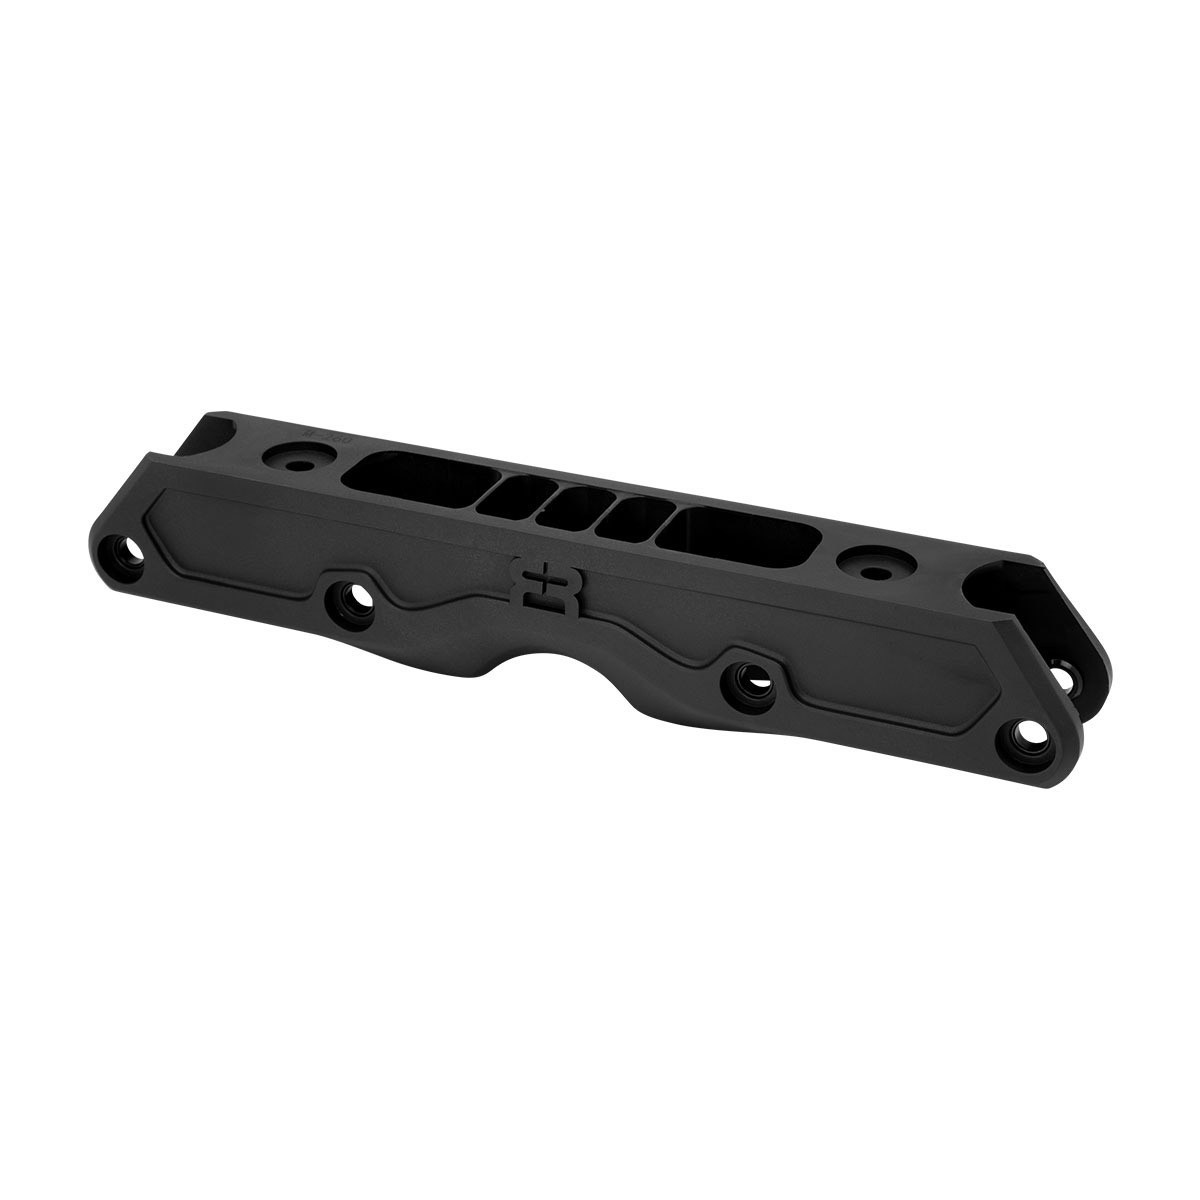 FR SKATES Street Frame Review: A Game-Changing UFS Flat Frame?
FR SKATES has entered the UFS aggressive skating world with its first Street frame, developed in collaboration with...Read more
FR SKATES Street Frame Review: A Game-Changing UFS Flat Frame?
FR SKATES has entered the UFS aggressive skating world with its first Street frame, developed in collaboration with...Read more -
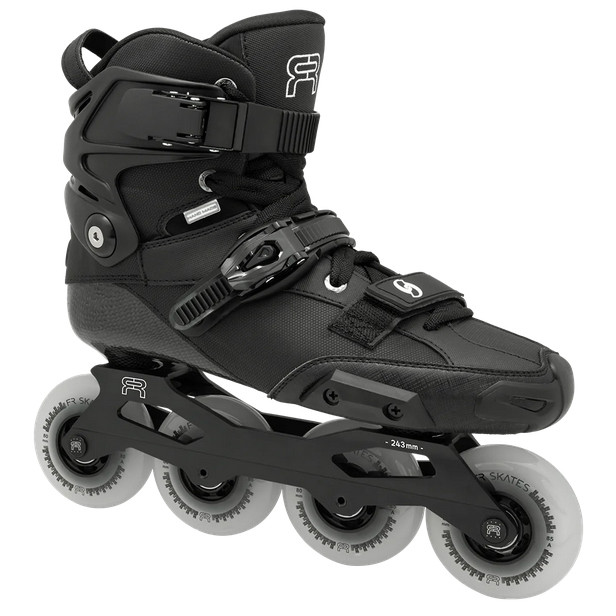 FR SKATES Spin: Technical Information & Size Guide
Looking for all the technical information about the FR SKATES Spin inline skates? Clic-N-Roll brings you this...Read more
FR SKATES Spin: Technical Information & Size Guide
Looking for all the technical information about the FR SKATES Spin inline skates? Clic-N-Roll brings you this...Read more
Leave a comment